Lately, I’ve been reevaluating the joy of cooking. Or at least, I’ve stopped thinking along the lines of the misery of cooking. Since I don’t have a big appetite, putting meals together has always felt like a messy burden, and I avoided the kitchen as much as possible. But now that I have my own kitchen (arranged exactly as I like, with food of my own personal selection), not to mention a man who appreciates a good meal, I’ve suddenly found the practice of arranging and heating food (the basic elements of cooking) appealing. In fact, adding spices to a pot makes me feel like Hermoine Granger brewing Polyjuice Potion, only I’ll never have to worry about turning into a cat.
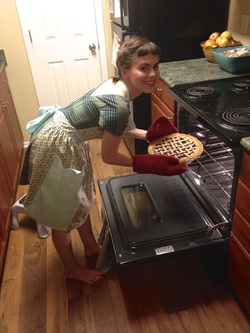
The one problem I keep running into is that I spill my concoctions on my clothes. So I decided to sew an apron. I used a cotton print fabric contrasted by a solid sea foam-colored fabric that matches my kitchen color scheme (also Studio Decatur’s color scheme). That's me in the apron in the photo above. I baked the jumble berry pie from scratch, crust and all!
Aprons from the 1950s and 1960s were my inspiration, and I proceeded from there without a sewing pattern. The decorative buttons sewn at the top of my apron were part of a collection passed down to me from my Nanny, my dad’s mom. The apron has a full skirt; a fitted top; two long, tulip-shaped pockets that fit stirring spoons and spatulas; and ties in the back.
For sewers with moderate experience, this apron is easy to make. I put it together in only two-and-a-half hours. If you’d like to make your own, I’ve included the steps below. If you make the apron and would like to be featured on this blog, send me pictures and a short description of yourself at [email protected]!
Please click "Read More" for the Old Fashioned Apron Tutorial! More pictures included. ;)
| How To Make an Old-Fashioned Apron You will need:
Part I: Measurements & Cutting Apron Skirt
Apron Pockets
Apron Bodice (Top Piece)
Apron Waistband, Ties, Halter, and Top Band
Part II: Sewing Notes: For accurate seam allowance, match the edge of your fabric to the edge of your presser foot as you sew. Always back stitch at beginning and end to reinforce your stitches. Apron Pockets
Apron Bodice
Apron Waistband & Ties
Apron Skirt
Optional Buttons 1. Hand sew three buttons down the center front of the bodice for a decorative touch. Congratulations! You’ve made an apron! If you are confused by any of the steps above, please feel free to shoot me an email and I'll try to help! | 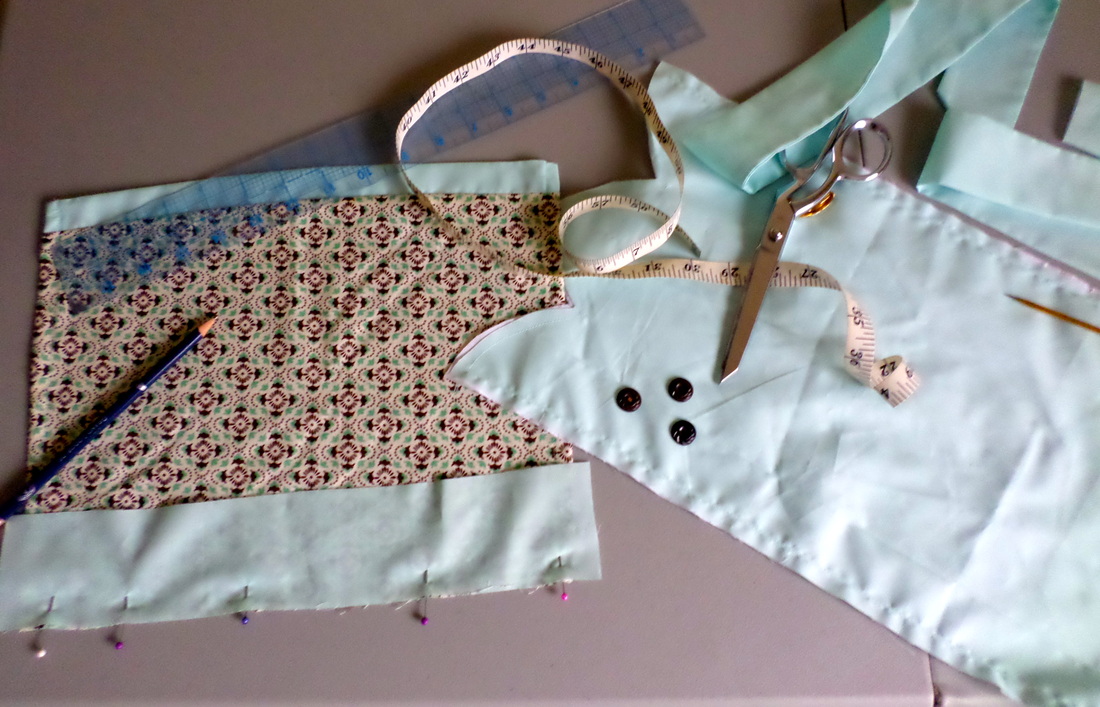 Basic materials and supplies, in the early stages of the project. (I already started before I remembered to take the shot. Oops!) 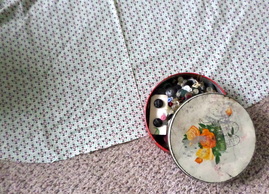 Fabric for the skirt laid out with Nanny's button box. You can see the lower edge has already been cut into a curve. 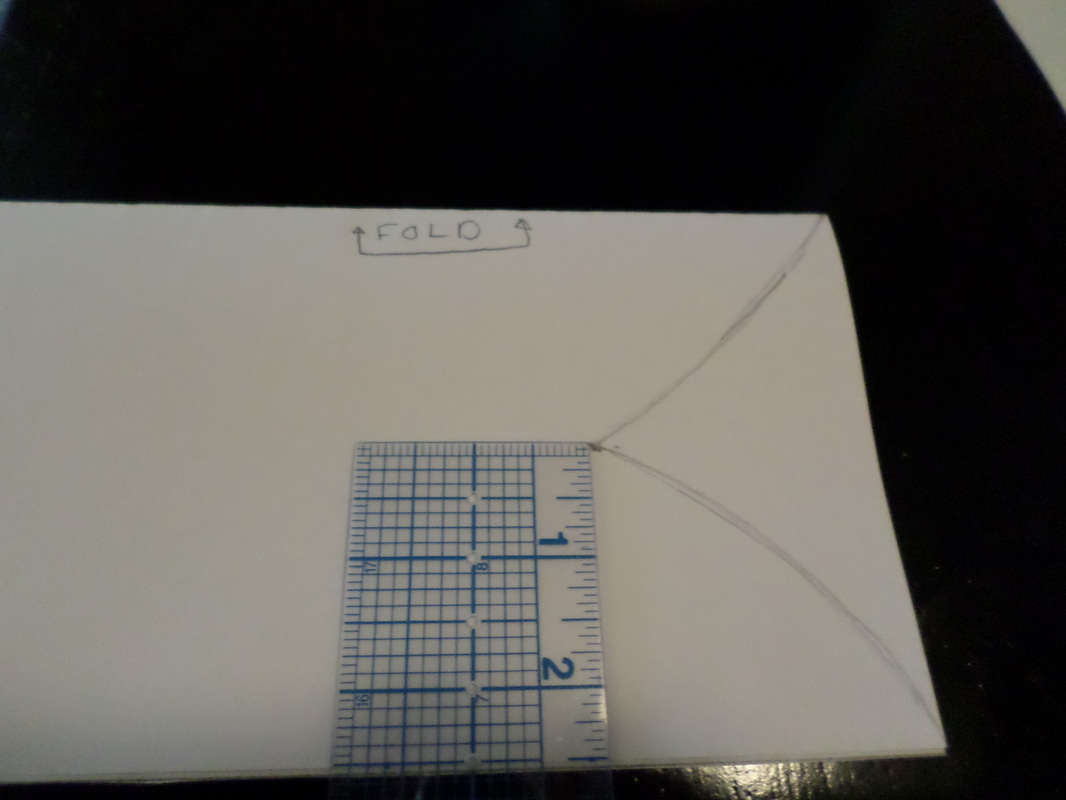 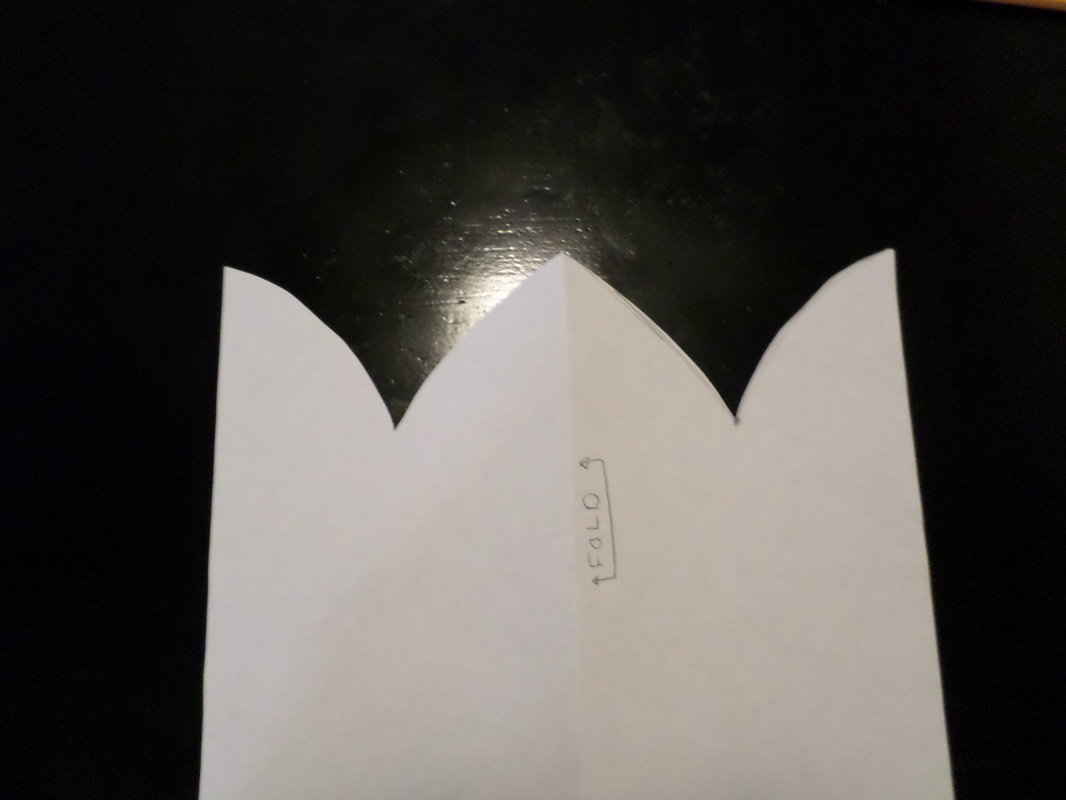 Pocket patterns, with measuring stick for scale. 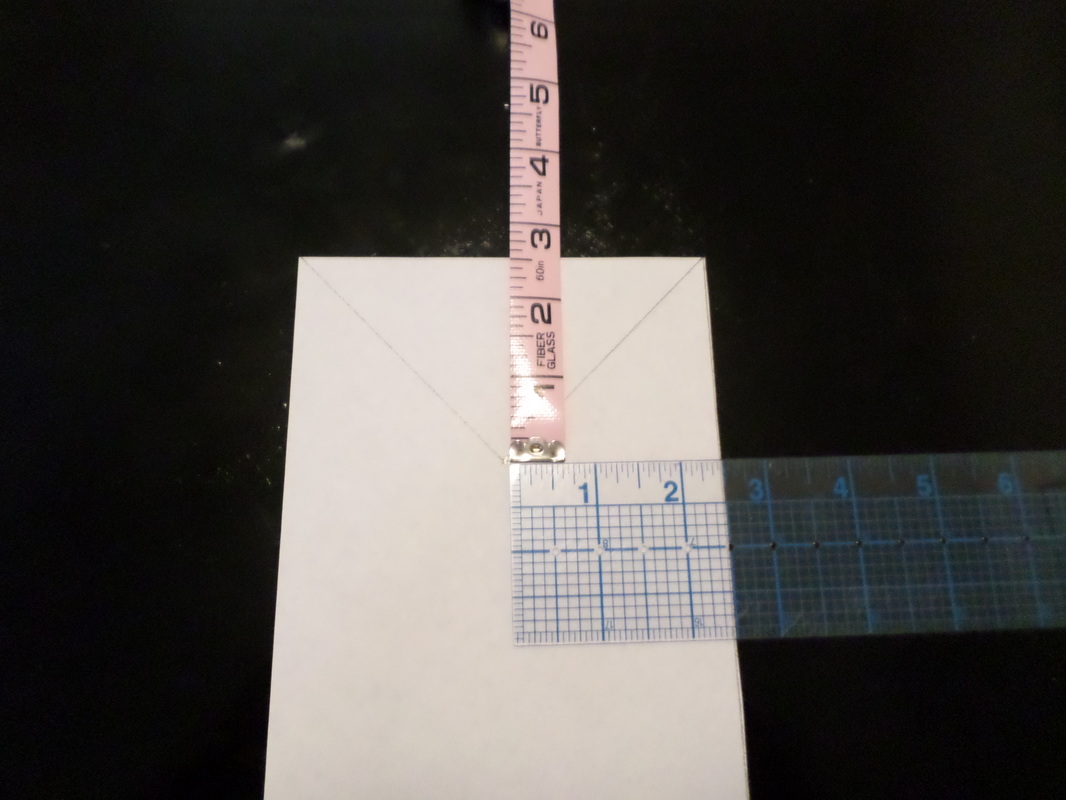 Later, when the fabric is folded in half lengthwise, this V shape will turn into a single diagonal edge: a perfect finish for your ties! 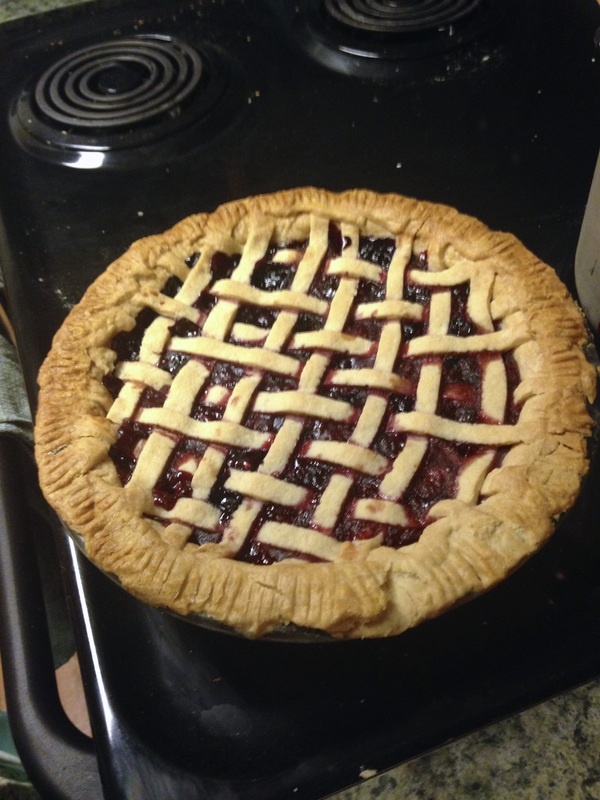 A picture of the pie. Because who doesn't love pie? This jumble berry pie has strawberries, raspberries, blackberries, and blueberries in its filling. It can easily be prepared vegan, as the crust has no eggs and you can substitute margarine for butter. I still have five pieces of pie left in the fridge. Yum!  Obviously, this is what you will look like when your apron is finished. The assurance that darling little song birds will assist in tying your apron strings should be motivation enough to keep going. 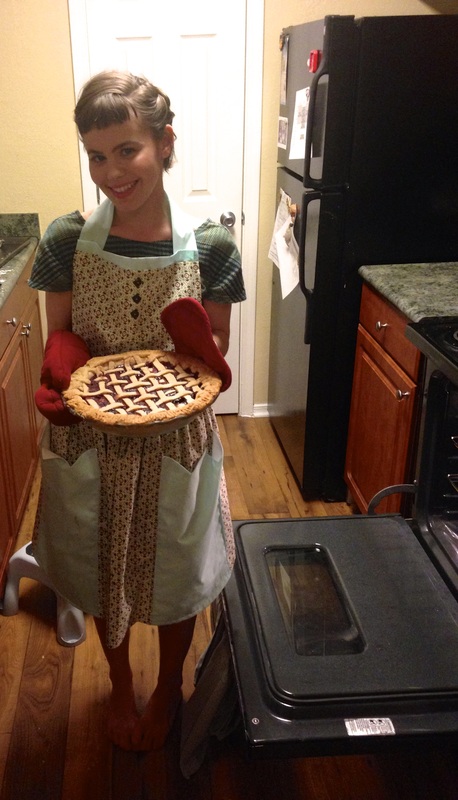 This photo: one part charming, one part creepy. You can see the stool in the background that I have to keep in the kitchen at all times because I can't reach all of our flatware and at least half of the cooking tools. 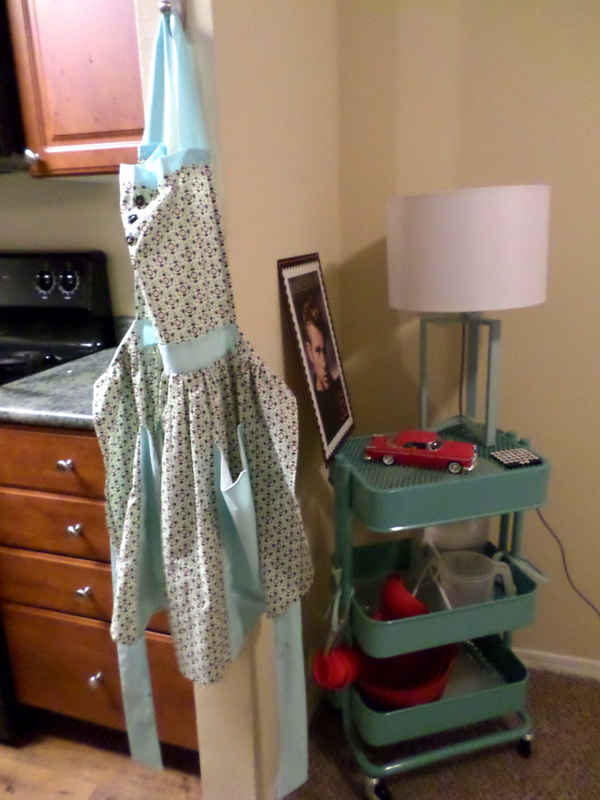 My finished apron hangs in our kitchen doorway. If you look at the photo closely, you can spot a tin James Dean poster I acquired when our intrepid rebel graced the nation's stamps in 1995. He broods at me gorgeously while I eat. |
 RSS Feed
