 |  |
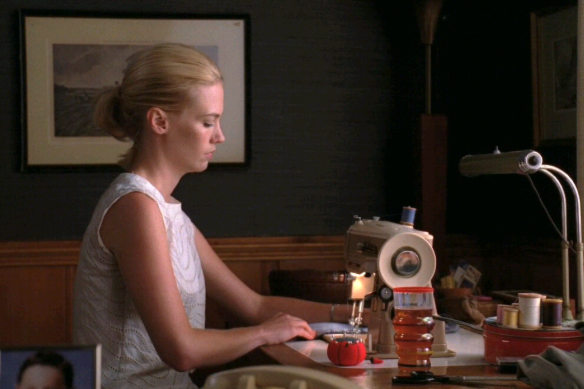
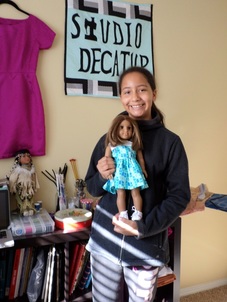
After a long year of no updates, I’m pleased to share what’s been going on in my life! Following happy months of teaching sewing lessons at Studio Decatur, lately I’ve been holed away, making my dress and my bridesmaid’s dresses for my upcoming wedding this June (in only two-and-a-half months time!). Everything is starting to come together. I’m terribly excited for the day to arrive so I can finally call the man I love my husband.
wedding sewing projects include:
wedding dress
veil
petticoat
five bridesmaids dresses (my mom is making the other two, as well as dress similar to my own for my little cousin Lexi, junior bridesmaid)
hand-embroidered pocket square for Ben
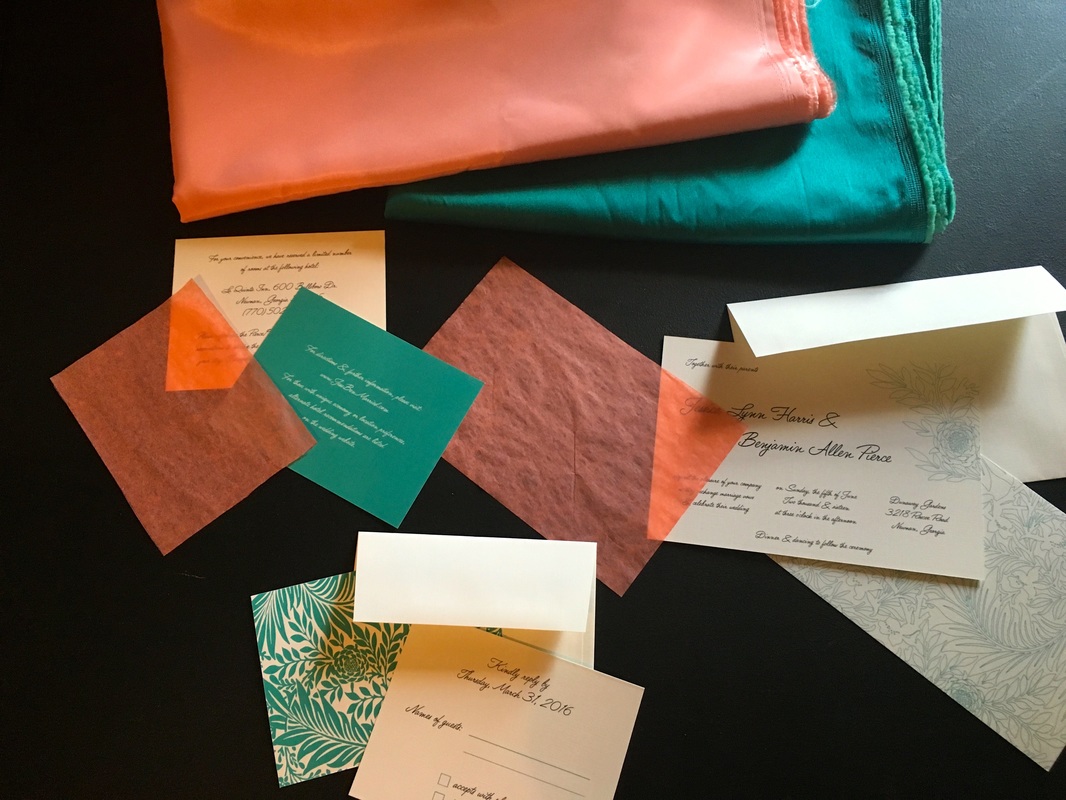
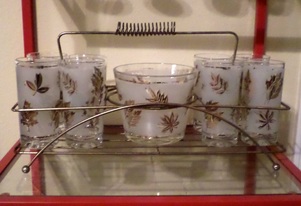
The colors are coral and sea-foam, and my impressively talented and generous bridesmaid, Lozana, designed the invitations and website to coordinate with the fabrics and mid-century aesthetic. Lozana incorporated a William Morris wallpaper pattern we both love. She suggested overlaying coral tissue paper against the main invitation, so the experience of opening the envelope would be much like opening a present. Fortunately, I accidentally bought 5lbs of tissue paper, so I’m using the rest for sewing pattern drafting! A wax seal on the envelope adds the final touch.
wedding sewing projects include:
wedding dress
veil
petticoat
five bridesmaids dresses (my mom is making the other two, as well as dress similar to my own for my little cousin Lexi, junior bridesmaid)
hand-embroidered pocket square for Ben
The colors are coral and sea-foam, and my impressively talented and generous bridesmaid, Lozana, designed the invitations and website to coordinate with the fabrics and mid-century aesthetic. Lozana incorporated a William Morris wallpaper pattern we both love. She suggested overlaying coral tissue paper against the main invitation, so the experience of opening the envelope would be much like opening a present. Fortunately, I accidentally bought 5lbs of tissue paper, so I’m using the rest for sewing pattern drafting! A wax seal on the envelope adds the final touch.
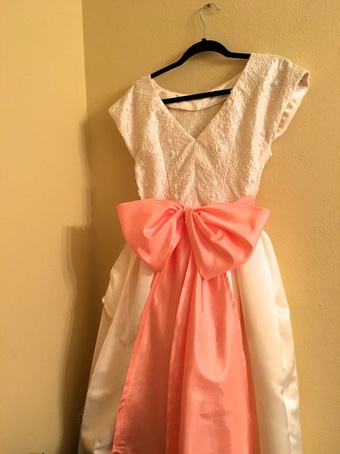
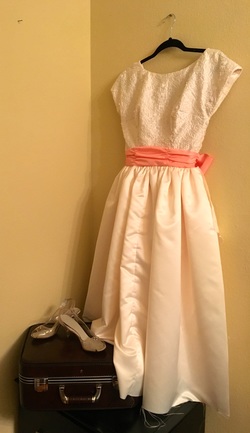
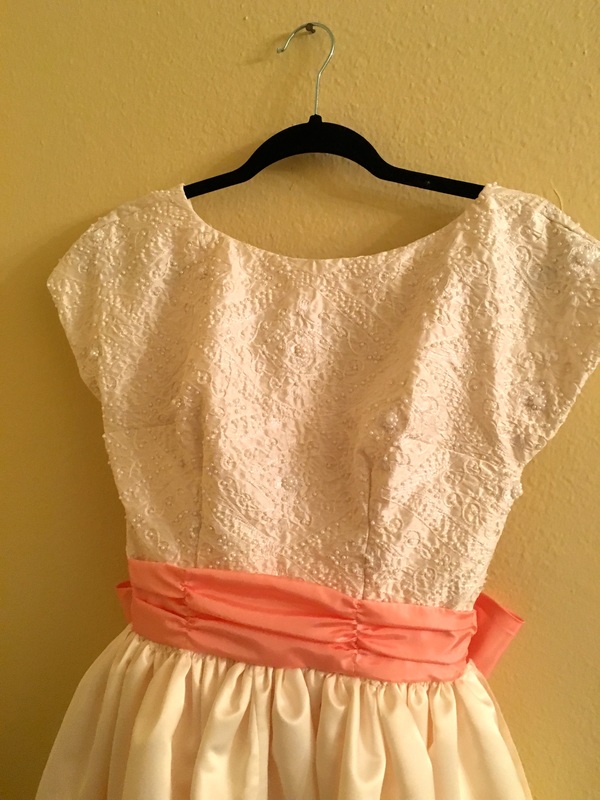
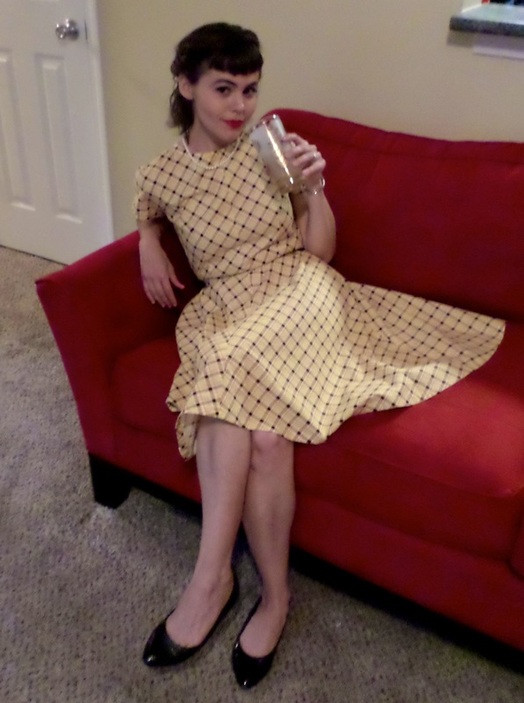
For my dress, I chose an original mid-1950s’ party dress pattern, Simplicity 1795, with a full-gathered skirt, attached short sleeves, and V back. Incredibly, I happened to find a pattern in exactly my (rare) size!
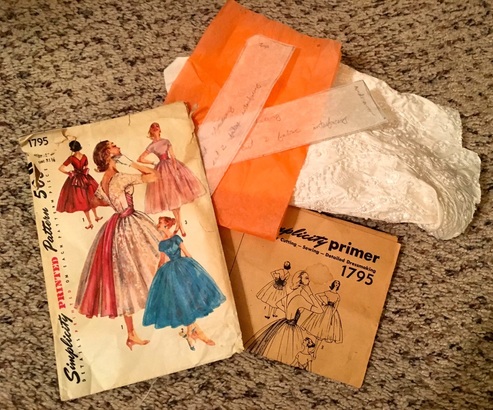
Simplicity 1795, hand-drafted sleeve facings & cummerbund patterns, beaded French silk.
The bodice is made from beaded 100% French silk, and I chose a low-gloss satin blend in a slightly warmer ivory for the skirt. I have yet to hem the dress, but it will eventually fall at T-length. The coral sash is cut on the bias, so perhaps it’s redundant to say I’m delighted with the drape. I plan on using the excess coral fabric to make Ben’s embroidered pocket square.
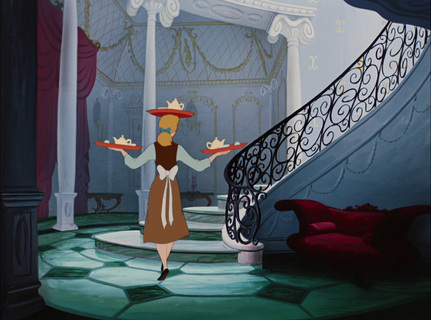
I find the large bow at the back pleasantly reminiscent of the dress the mice help Cinderella make in Disney’s 1950 film. Fitting this theme, I purchased carved lucite 1950s’ slingback heels from Frocks & Frills Vintage etsy shop for my ceremony shoes (in a Cinderella-worthy size 4; they fit like a glove). I’ll change into coral saddle shoes for the reception, as Ben and I plan on swing dancing the night away.
I find the large bow at the back pleasantly reminiscent of the dress the mice help Cinderella make in Disney’s 1950 film. Fitting this theme, I purchased carved lucite 1950s’ slingback heels from Frocks & Frills Vintage etsy shop for my ceremony shoes (in a Cinderella-worthy size 4; they fit like a glove). I’ll change into coral saddle shoes for the reception, as Ben and I plan on swing dancing the night away.
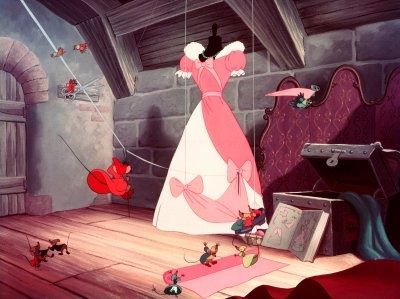 I wish my bunnies would help their Cinderelly... |  My engagement ring originally belonged to Ben's great great grandmother, Mildred, who was also a seamstress. |
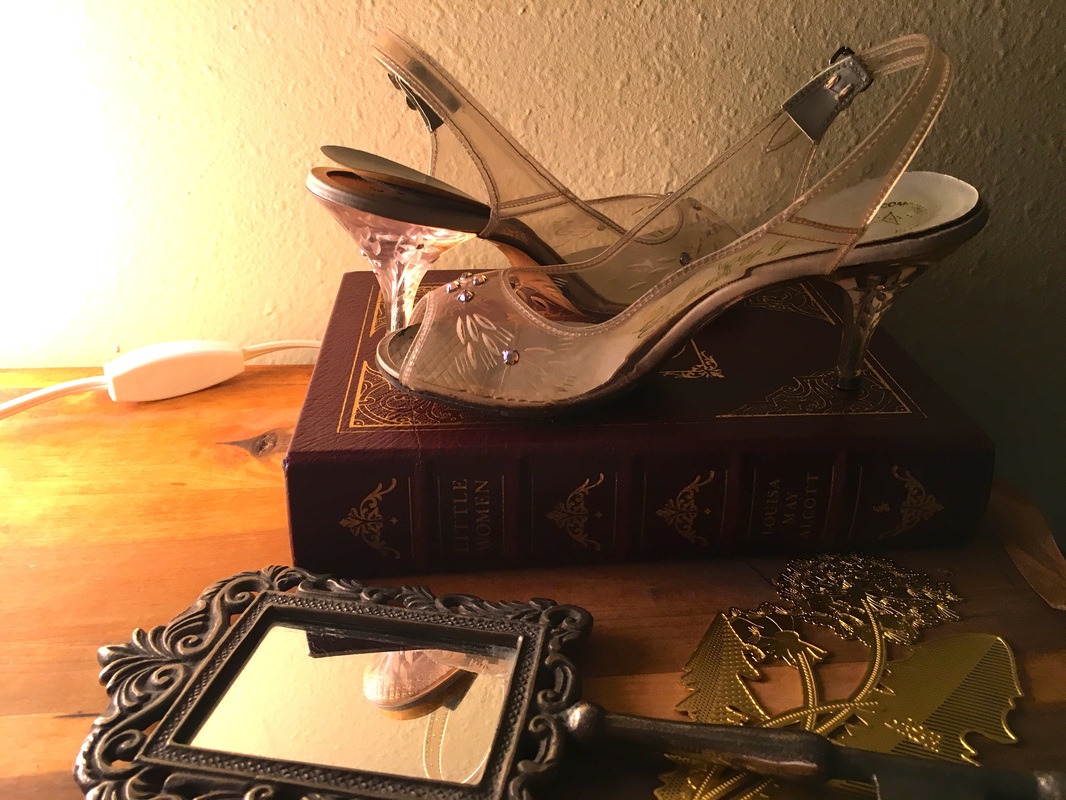
My glass slippers. Pictured with Little Women, and gifts (given to me by two of my bridesmaids) that I keep on display on my dresser.
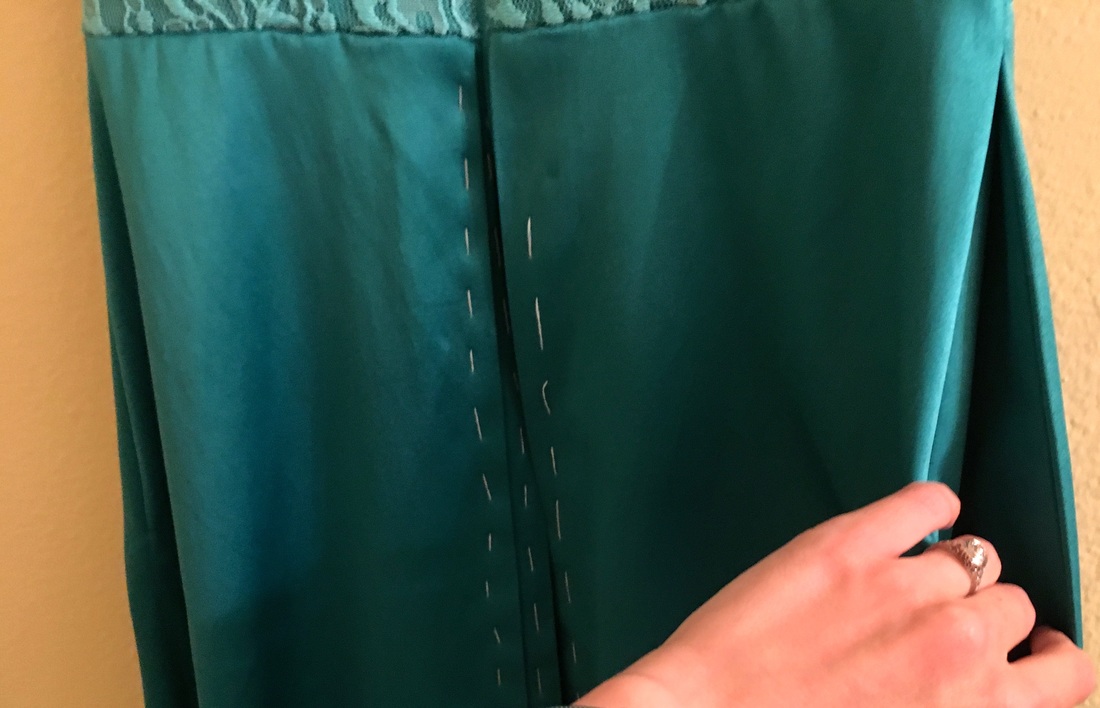
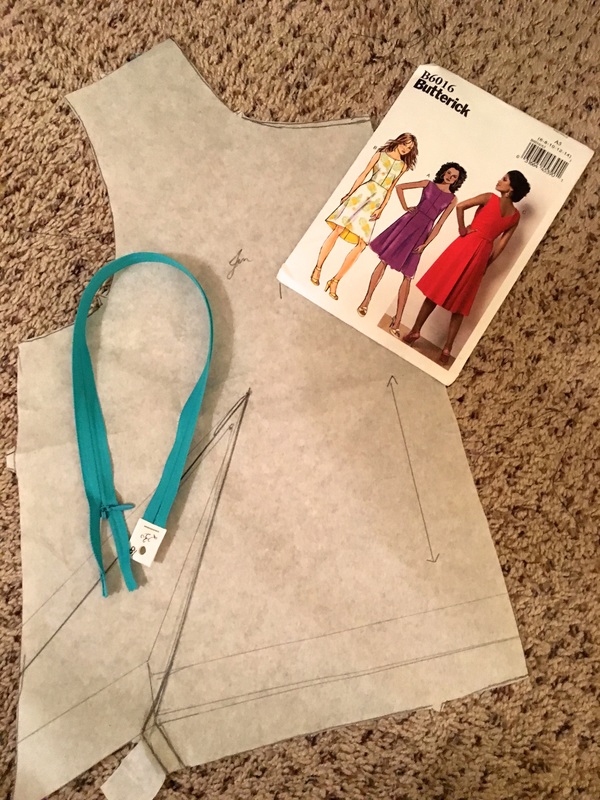
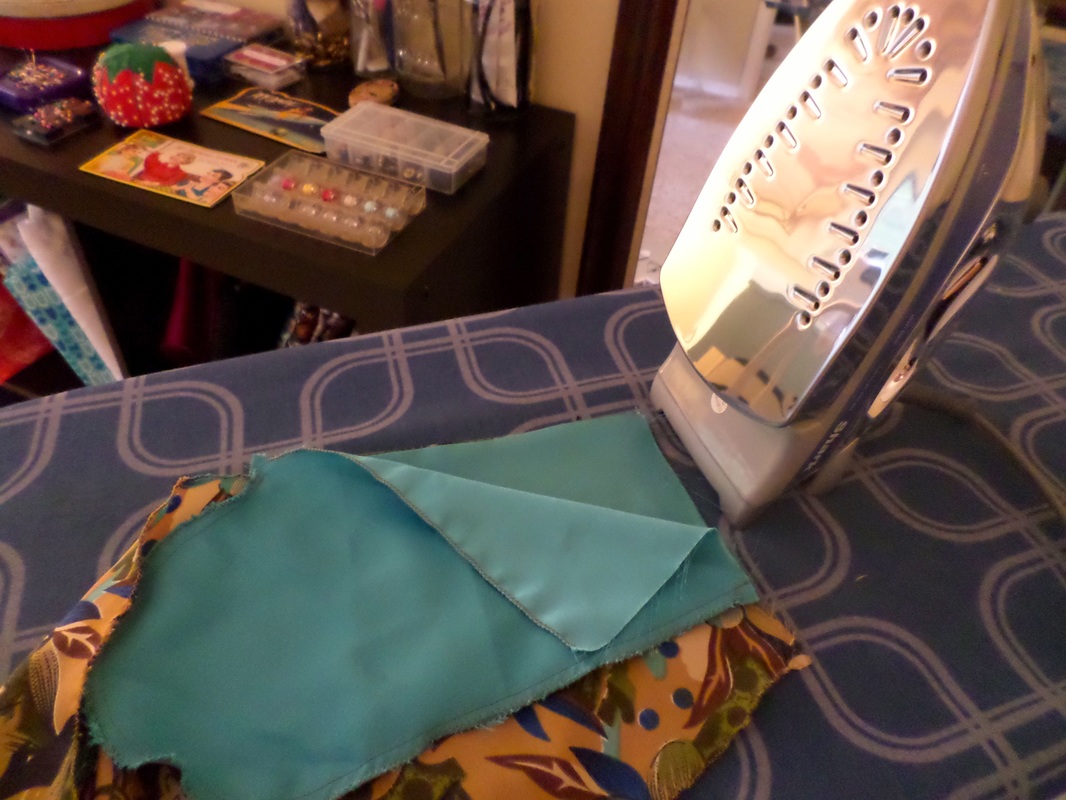
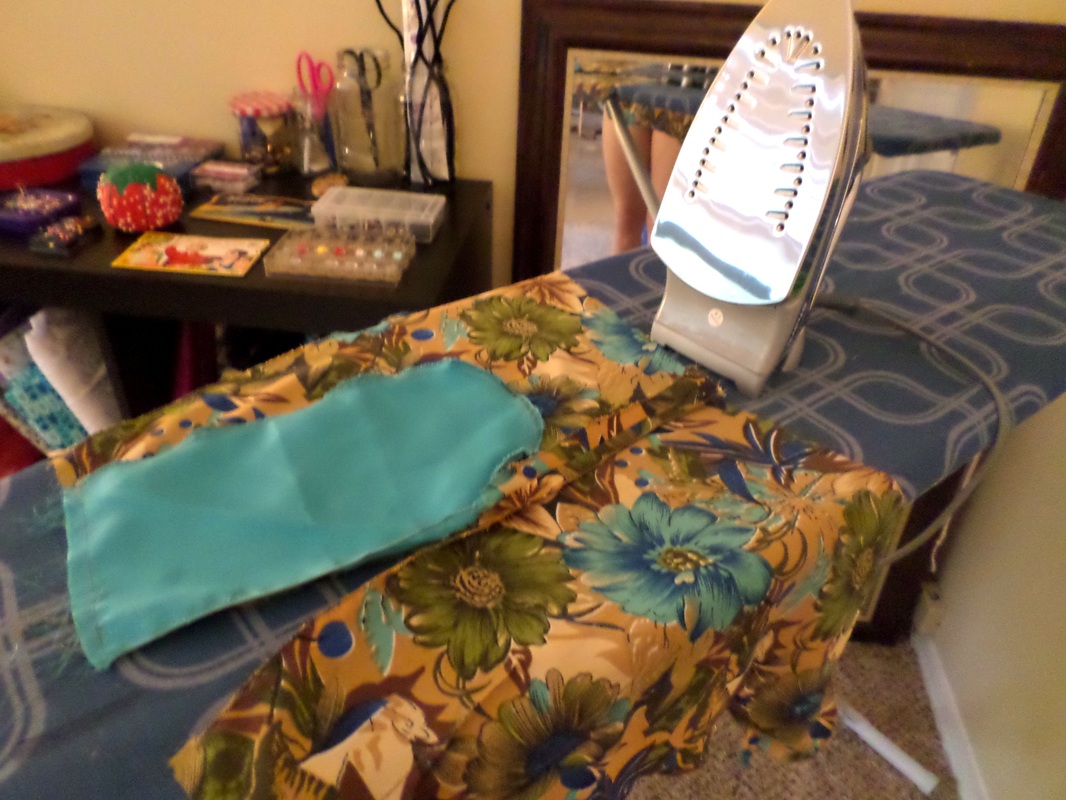
For the bridesmaids’ dresses, we decided on Butterick 6016, a classic A-line in a sea-foam, turquoise shade. The fabric is a wonderfully smooth, low-gloss satin blend from a fabric collection called Debutant (which I find fitting). I added a lace overlay in the bodice and scooped the neckline slightly lower for a hint of exposed collarbone. I love how the V-back and the miniature bow (not show) reflect the exaggerated V and bow in my own dress. The angled, inverted center-back pleats were a little frustrating to press exactly right, but they are well worth it! I used a floral-print bodice lining for a secret pop.
My goal for the finished dresses is for the ladies wearing them to feel elegant, enchanting, and classic, and have no insecurities or fitting troubles to worry them.
My goal for the finished dresses is for the ladies wearing them to feel elegant, enchanting, and classic, and have no insecurities or fitting troubles to worry them.
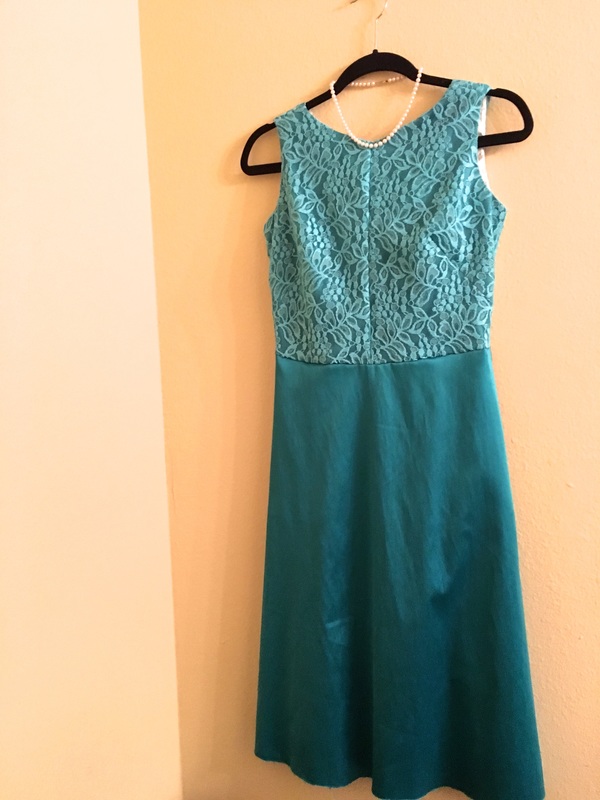 Rachel's dress. |  |
Sewing Specifics
Wedding Dress
For the bodice of my dress, I first laid out the fabric so that when I cut, the beadwork would be perfectly symmetrical in both the front and back pieces. I needed to figure out a way to prevent the sewing machine needle from snapping on the beads, while ensuring I didn’t trim the wrong threads and cause necessary beads to slip away. So I hammered out–with excruciating care–all the beads in seam allowances before I cut out the pattern pieces. Then I hand-basted the dart markings, and hammered out the beads inside before I sewed the darts.
Other bodice changes: I deepened the V-back ever so slightly and dropped the neckline 1/2” in the center front so that my collarbones peek out. I also added a underlining of lightweight netting in the bodice. This way, if I need to secure the facings in a spot that doesn’t have a convenient seam, I can sew the facing to the netting, and the stitches won’t show through to the outer layer. Finally, I drafted sleeve facings, as I find facings look neater than using bias tape or double founding a hem, and again, allow for no visible stitches.
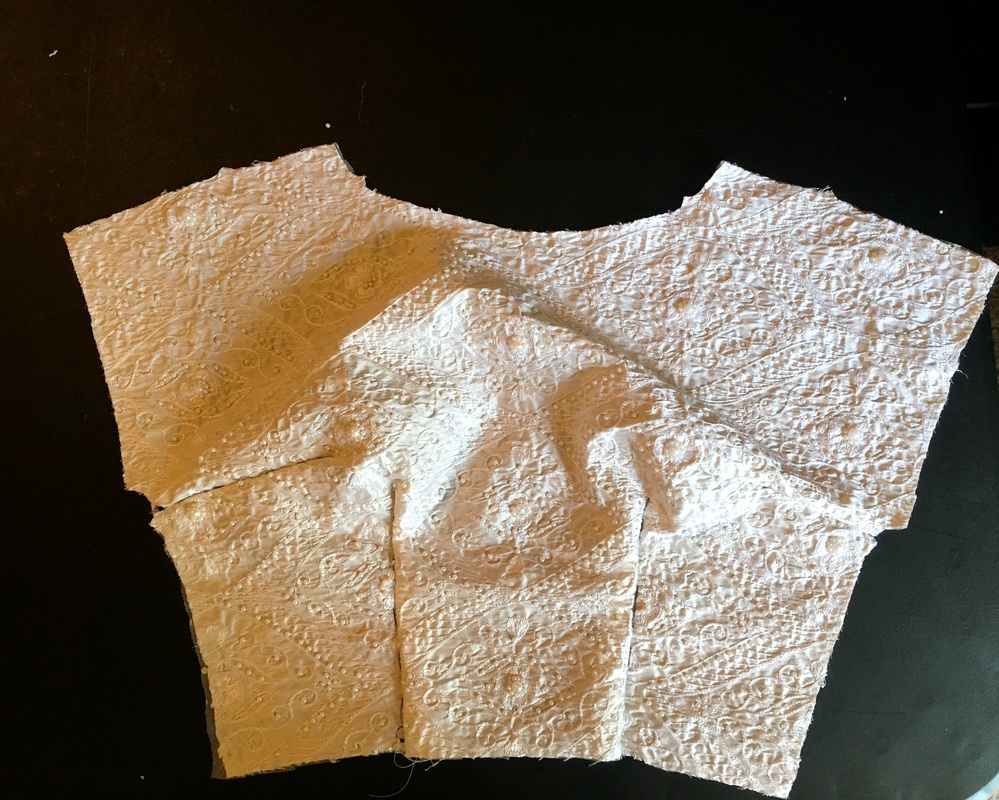
Dart hand-basting still visible.
I felt the cummerbund pattern was too, well, cumbersome–sorry, I had to–so I drafted my own from scratch. The original pattern was simply too large, too gathered, too much. I designed my version to be sewn into the side seams and meet up with the edges of the sash (so I also altered the width of the sash to match). Additionally, I arranged the design so the secured vertical gathers would align with the bodice front darts.
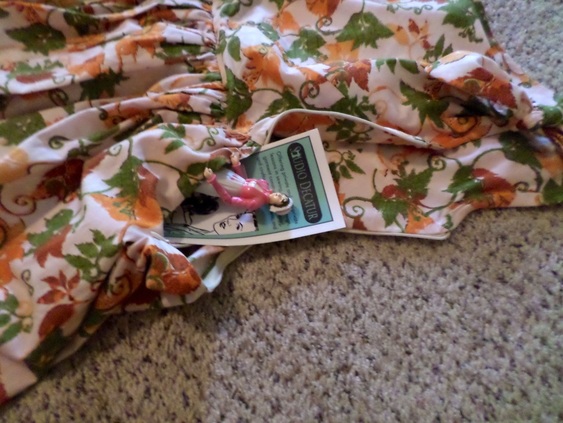
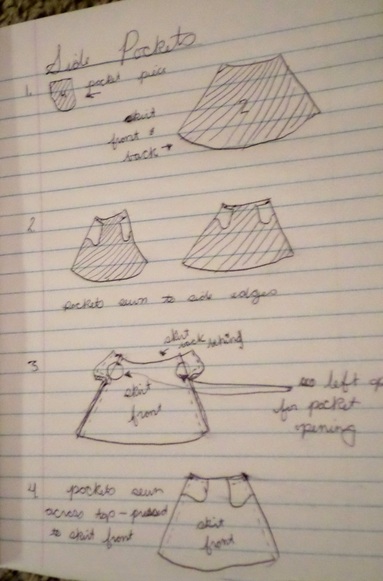
Because a dress is incomplete without pockets, I added deep, hidden side pockets for both my dress and all my bridesmaids’ dresses, even though the patterns didn’t call for them.
I still have to neaten the basted skirt gathers, permanently stitch the bodice to the skirt, sew in the size sipper, and hem the skirt. I plan on trimming off the excess fabric at the length and using it as a hem facing. I’ll hand-stitch the hem with a blind stitch.
A daintier cummerbund.
Bridesmaids’ Dresses
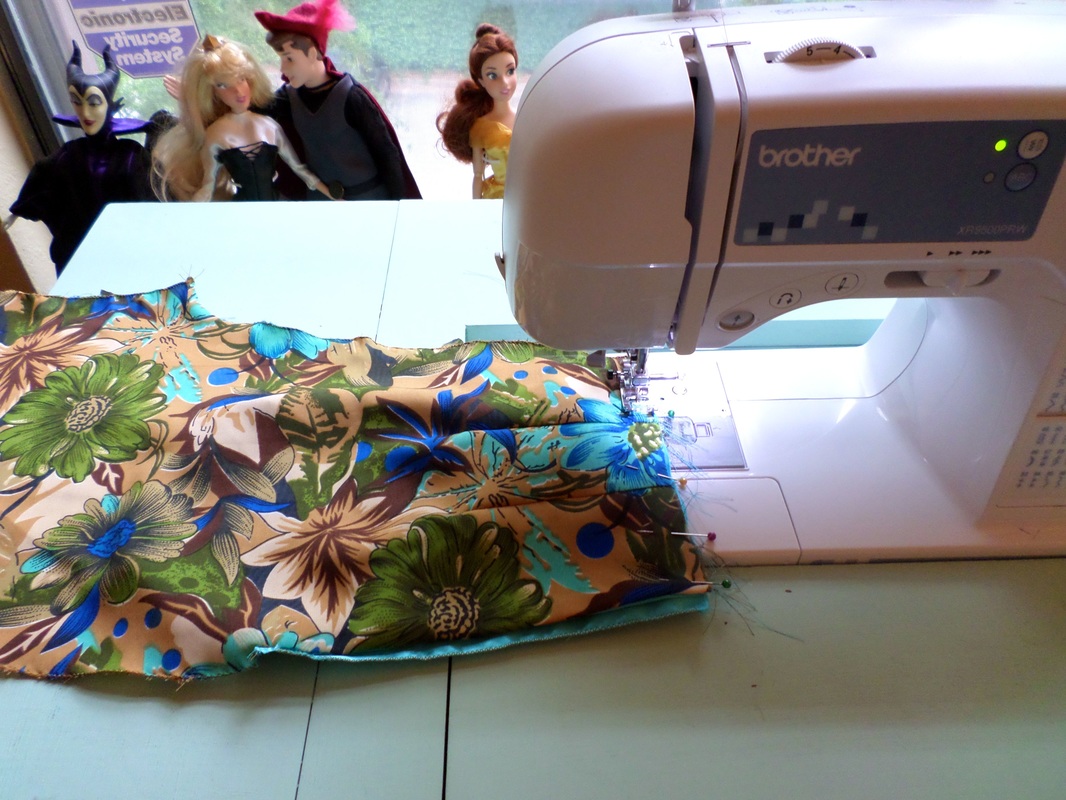
For each bridesmaid’s dress, I re-drafted the pattern pieces according to the bridesmaid's individual measurements. Since most of my bridesmaids are tall, when adding length to the bodice, I had to reconfigure the French darts. Fortunately, after a little trial-and-error, I was able to figure out how to do this!
To make the lace overlay, after cutting out all the pieces, I stitched the underlay and the overlay together around the raw edges, then sewed the darts as if they were one. This proved a little challenging because the lace is stretcher than the satin, but using a knit needle helped considerably.
Because the bodice is fully lined, I also did quite a bit of under-stitching to ensure the lining lies flat and the seam doesn’t roll out.
We’ll do a fitting at the bridal shower, and until that point, all of the dresses will be left in an incomplete state. After the fitting, the skirt will be double-hemmed up and hand-stitched.
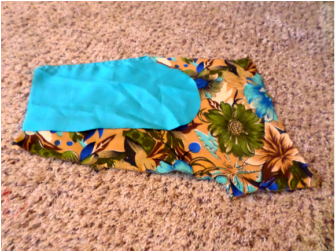
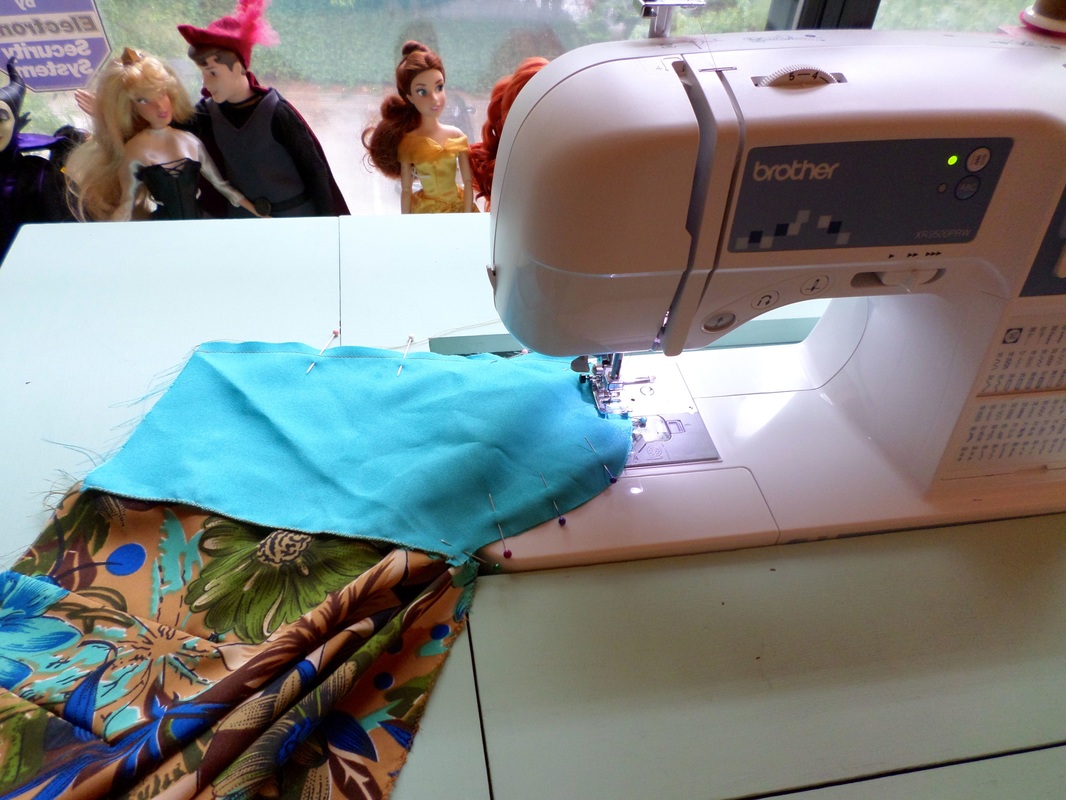
Secret pockets!
 Modified French dart. | 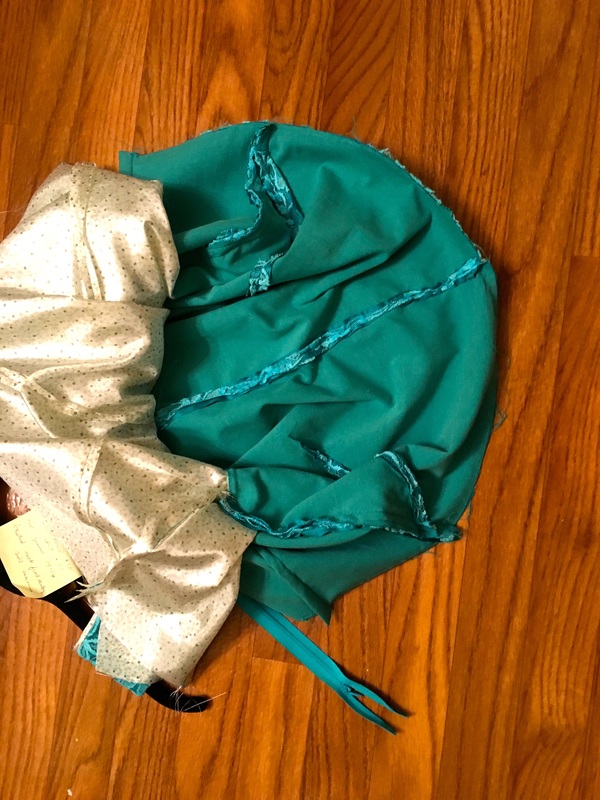 Inside bodice details. |
Petticoat & Veil
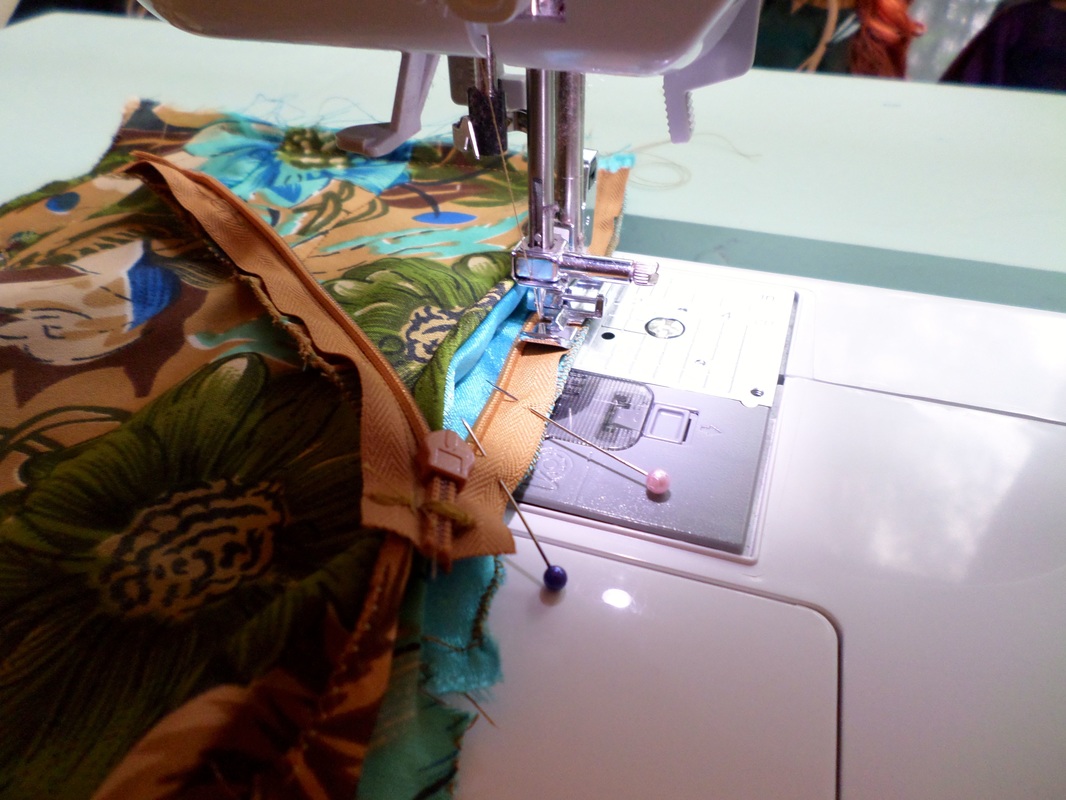
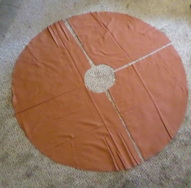
To make my petticoat, for the yoke, I used extra fabric from my wedding dress skirt and the top 8” of a pencil skirt pattern with eight darts. I widened the side seams at the lower edge, fully lined it, and put in a center back invisible zipper. After putting this together, I added another 8” long piece of excessively gathered tulle. I’m currently finishing the third gathered layer with 1/8” ivory bias tape. This final piece is nearly five yards around before the gathers are pulled.
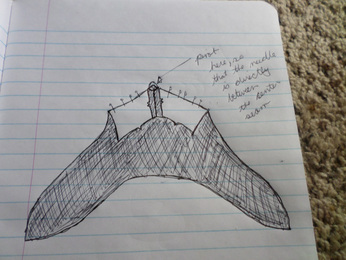
I love the symbolism and mystique of the veil. I haven’t started on sewing it yet, but–big surprise–I’ll be using an authentic 1950s’ pattern. The comb covering will be made from the remnant of my bodice fabric. The veil will be made with a lightweight tulle, and I'm currently debating whether or not to use polka-dot.
To make my petticoat, for the yoke, I used extra fabric from my wedding dress skirt and the top 8” of a pencil skirt pattern with eight darts. I widened the side seams at the lower edge, fully lined it, and put in a center back invisible zipper. After putting this together, I added another 8” long piece of excessively gathered tulle. I’m currently finishing the third gathered layer with 1/8” ivory bias tape. This final piece is nearly five yards around before the gathers are pulled.
I love the symbolism and mystique of the veil. I haven’t started on sewing it yet, but–big surprise–I’ll be using an authentic 1950s’ pattern. The comb covering will be made from the remnant of my bodice fabric. The veil will be made with a lightweight tulle, and I'm currently debating whether or not to use polka-dot.
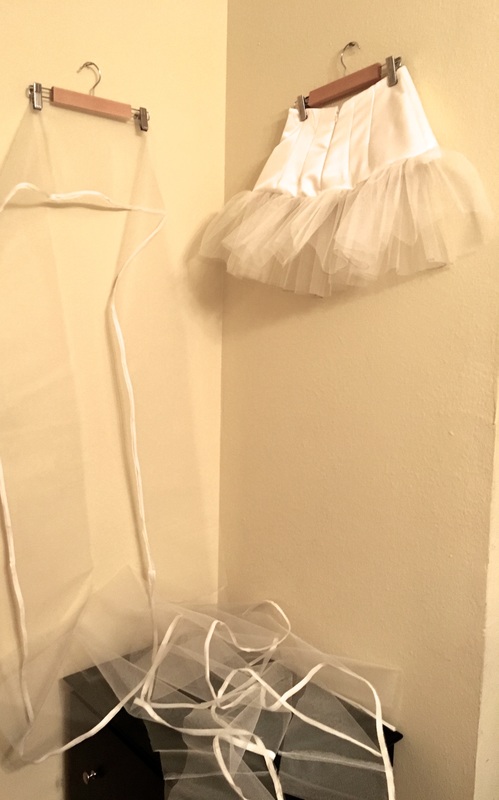 Yards & yards of tulle. | 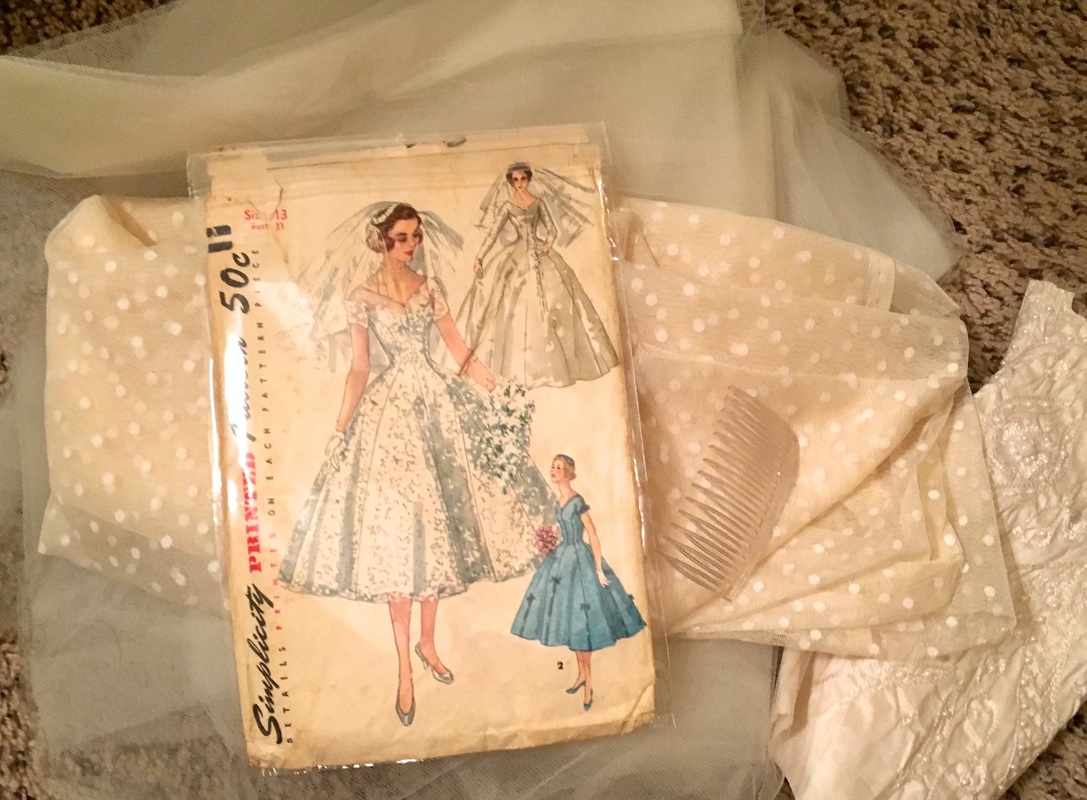 Veil tidbits. 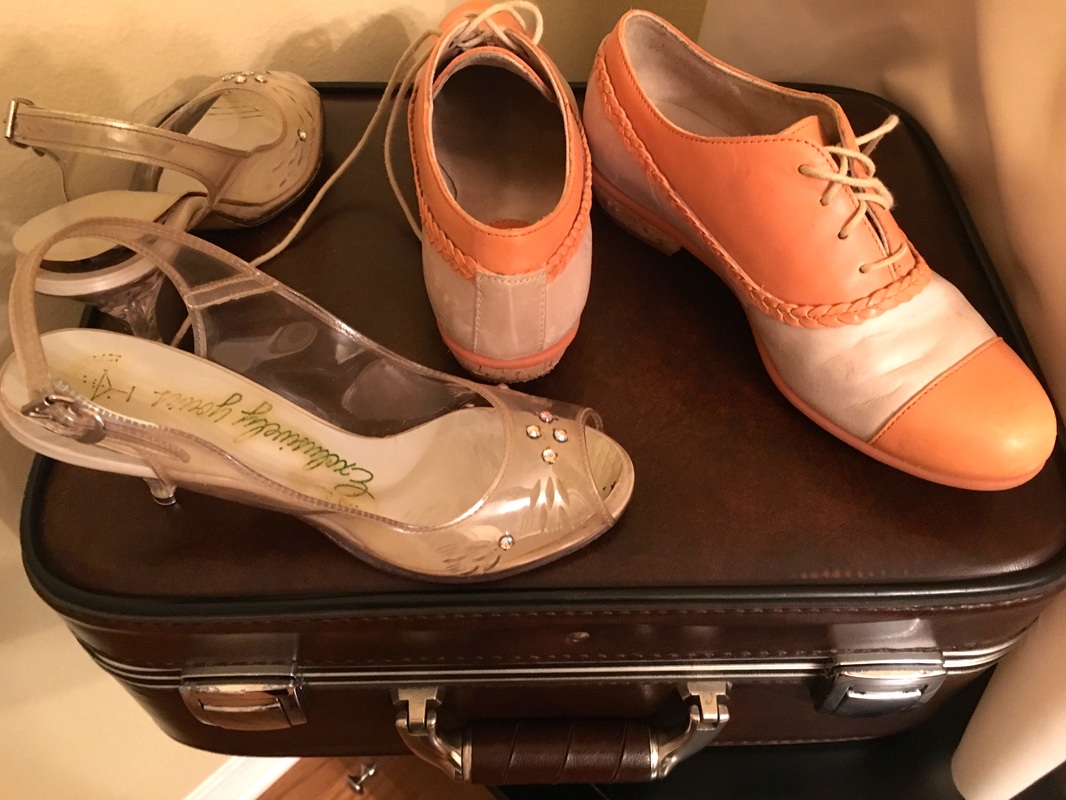 Ceremony lucite heels & reception saddles. |
I still have a few bridesmaids dresses to finish (and start!), as well as the final touches to my own wedding dress and petticoat. I also have to yet to start the veil and the pocket square. Expect an update when all the projects are complete!


 RSS Feed
